TURKEY TIME
Before a turkey gets put in the oven, a few decorative ones are brought out to set the mood for this short time between Halloween and Christmas. The day after Halloween, the Jack-o-lanterns and all Halloween things get put away to make way for Thanksgiving. Granted, Thanksgiving decorations are limited but I do have my vintage wax turkey collection that I always display. They add just the right touch here and there, blending in with my dishes and other display items.

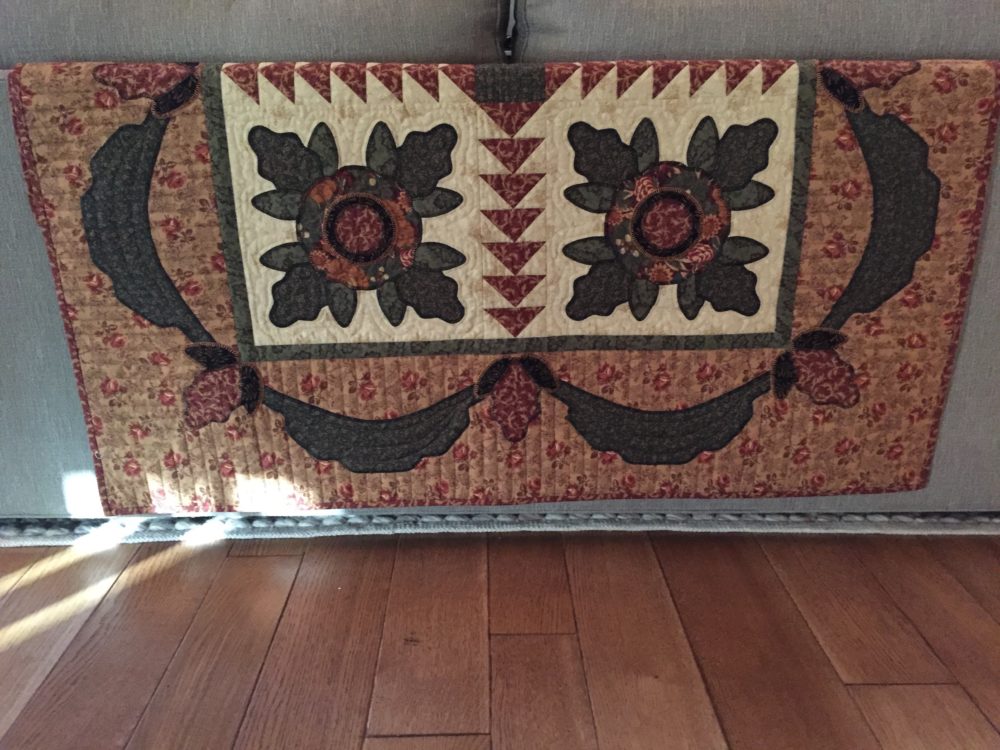
And of course, some of my favorite harvest quilts take center stage. This year the two pictured are some of my very first designs. Harvest Mix from my second book, At Home with Thimbleberries, is hung over two stacked trunks. Holiday Bouquet from The Collection of Classic Quilts is perfect for the back of the couch which I can see from the kitchen and dining room. They certainly set a warm, cozy tone for this time of the year.

A FESTIVE TURKEY
This year I came up with a craft idea I thought I could do with my grandchildren. As it is always a good idea to test it out before presenting it to them, I found it was a bit too challenging for them. However, I love the one I did and it is standing proudly on my mantel. I used an artificial pumpkin (Funkin or any fake pumpkin you can easily punch small holes into), scrapbook paper, bamboo skewers and a hot glue gun. Luckily, I had everything in the house which is always a plus. I have figured out a version of this for Taylor and Ella to do without working with sharp skewers. 
In case you want to try your hand at this festive turkey, here are some general instructions. All the parts are done (cut) free handed, so don’t worry about the exact measurements.
Cut feathers from a large variety of papers. Cut three sizes. The longest is 12″. Then cut medium (about 8″) and small (about 5″) feathers. To make the feathers, cut 1-1/2″ – 2″ wide strips. Use the 1-1/2″ strips for the smallest feathers. Fold in half lengthwise and cut edges into a feather shape. 
Glue a bamboo skewer in the fold of the feather on the back side, extending the pointed end of the skewer about 2″ beyond the bottom of the feather. 
Using a spare skewer, pre-punch holes in the pumpkin following the grooves of the pumpkin. There are three rows of feathers and the rows are about 2″ apart. The holes for the feathers are about 1″ apart. 
The turkey body and head are make from paper as well. Fold a piece of brown paper (5″ x 6″) in half lengthwise and cut a body/head into a fat pear shape. Head details are free handed for the beak, eyes and waddle. The folding makes the body three dimensional and easy to get an even sided body shape. Starting with the long feathers, insert into the pre-punched holes of the back row. Proceed to the medium feathers and then the small ones. Glue the body to the pumpkin. All of these measurements are just guidelines, because, of course, everything depends on the size of the pumpkin you are using.
Kid’s Version…I prepared all the parts for the Festive Turkey, but eliminated the faux pumpkin and gluing skewers to the backs of the paper feathers. Taylor and Ella glued the feathers onto a piece of cardboard with glue sticks…much more kid friendly. They were thrilled with their finished turkeys which immediately found a spot on the windows in my dining room. 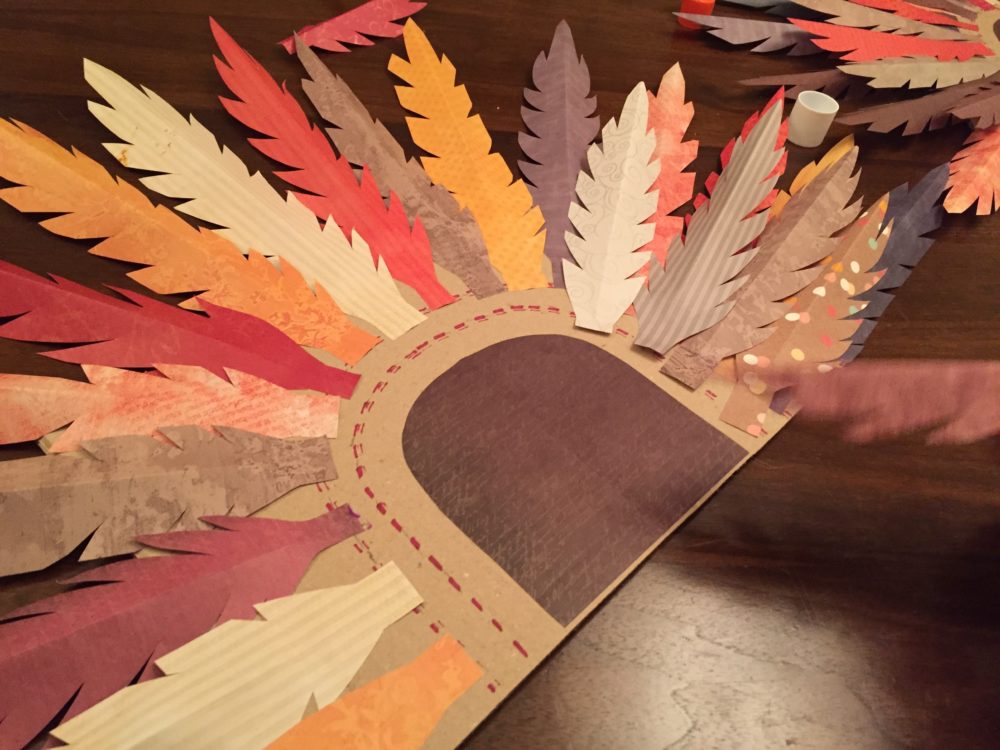


FAUX FABRIC PUMPKIN
Last year I made some fun Halloween pumpkins using Mod Podge, printed napkins and artificial pumpkins. This year I made another pumpkin that looks more like Thanksgiving, using a lovely paper napkin with a print worthy of being printed on cotton fabric for quilting.  You can use either the matte or glossy finish Mod Podge to glue the napkins on, but for best results, use the glossy for the finishing coat.
To make make the pumpkin, cut the napkins into strips approximately 2″ x 4″ wide. Eye these cuts, don’t measure. This is not a precise craft. Most decorative napkins are two ply. Remove the second ply of paper leaving the thin printed layer of the napkin. Use a small brush (1″ wide ) or a disposable foam brush. Work with half the pumpkin at a time.
Place the pumpkin in a bowl (bottom up) and start applying the Mod Podge in small sections (4″- 6″) directly onto the pumpkin. Lay a piece of napkin on the glued surface of the pumpkin and using the brush, gently press to adhere. The napkin will wrinkle into the crevices of the pumpkin. Continue to apply strips until the bottom half of the pumpkin is covered. Let dry. Flip to continue the same process on the top half. You will have to overlap strips as you go. None of this will show when dry. The Mod Podge goes on white but dries clear and the crinkled napkins give some texture to the surface of the pumpkin when dry. Put a topcoat of gloss Mod Podge to finish for a finishing sheen. Remember, it dries clear.


ROAD TRIP
I took a little road trip to Redwood Falls, MN last week. It is a small town in southern Minnesota featuring the most outstanding Christmas shop, The Light of Home. The displays were pretty fabulous and certainly got me in the mood for decorating. The mother-daughter team really has a talent for creating a wonderland of Christmas baubles, lights, artwork and accessories. It is well worth the drive if you are luckt enough to be in the area. One store front away is The Farmer’s Wife featuring primitive furnishings and accessories and a very nice selection of hand-dyed wool with books, patterns and kits to inspire. It was a fun day out and about and certainly got me in the spirit of decorating for this whole season of celebration. 


